
Last updated on June 23rd, 2023 at 07:12 am
Do you want to learn the process you can take for your Kwikset Aura Battery replacement?
Even, if you’re experiencing issues with your Kwikset battery dying problem, you are in the right place.
Before you panic or call for professional assistance, there’s a good chance that the solution to your problem lies in a simple Kwikset Aura battery replacement.
In this article, we will walk you through the easy and hassle-free process of changing the batteries in your Kwikset smart Aura Bluetooth lock, ensuring a new life cycle for your keyless entry door.
How to execute the Kwikset Aura Battery Replacement process?
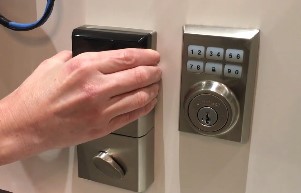
Step 1: Removing the interior cover
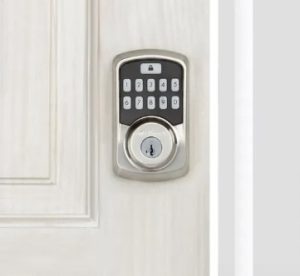
Accessing the Battery Compartment To begin the Kwikset battery replacement process, locate the cover on your Kwikset keyless entry door. You can find it on the interior side of the door, just above the keypad.
Place your thumb on the cover and slide it upward. This action will pop the cover off, revealing the battery compartment underneath.
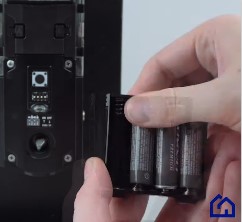
Step 2: Removing the battery pack and Old Batteries
Once the cover is removed, you will notice a small nook with the old batteries inside.
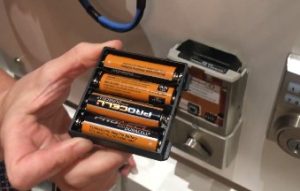
Before proceeding, make sure you have a fresh set of batteries ready for replacement.
Carefully remove the battery pack from the battery compartment and old batteries from the battery pack. They might be a bit loose, so be cautious not to drop them.
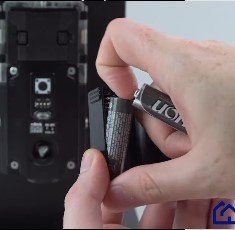
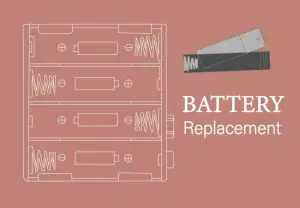
Step 3: Inserting the New Batteries
With the old batteries out, it’s time to insert the fresh ones and ensure their proper installation.
Take your new batteries and place them in the compartment.
Ensure they are positioned correctly, with the positive and negative ends aligned as indicated.
Gently wiggle the batteries to ensure they are securely in place. This step helps establish a stable connection.
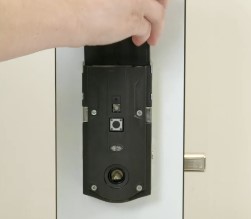
Step 4: Insert the battery pack
Now it’s time to insert the battery pack into the Aura locks battery compartment.
Step 5: Verifying Successful Battery Replacement
Once the new batteries are in place, it’s time to check if the replacement was successful.
Look for a green light on the keypad or lock mechanism.
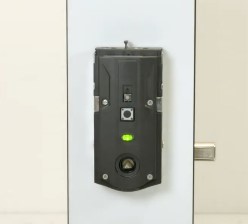
This light indicates that the battery replacement was successful, and your Kwikset smart deadbolt lock is ready to operate smoothly once again.
Finally, the process is successfully completed! do you want to learn more about Kwikset Aura lock? then read our ”Kwikset Aura smart lock review 2023” article.
Conclusion
Congratulations! You have successfully replaced the batteries in your Kwikset Aura keyless entry door.
By following these simple steps, you can ensure the continued functionality of your smart deadbolt lock without any hassle.
Remember to use high-quality batteries for longer-lasting performance.