To reverse a Kwikset lever door handle, remove the set screw and flip the lever. Reattach the lever with the set screw to complete the process.
Reversing the handle on a Kwikset lever door is a straightforward task that homeowners can often perform without the help of a professional.
It’s a common need when you want to ensure the levers on both sides of the door match or if you’re adjusting handles for better accessibility.
This simple DIY adjustment can also be a quick fix for a mistakenly installed lever or when repurposing the lever from one door to another.
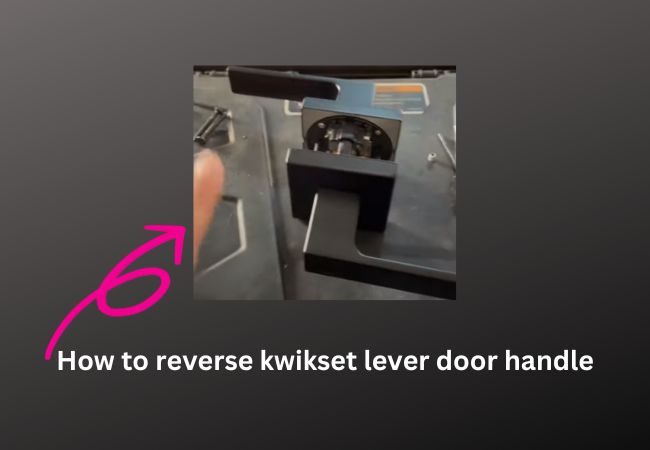
How to reverse kwikset lever door handle
Reversing a Kwikset lever door handle may seem like a daunting task, but it’s actually quite manageable with the right guidance.
Identifying Kwikset Lever Door Handle Components
- Lever Handle: The part you grasp to open the door.
- Rose Cover: The decorative plate seated against the door.
- Latch Assembly: The component that extends into the door frame to keep the door closed.
- Mounting Screws: Fasteners securing the handle to the door.
- Set Screw: A tiny screw that holds the handle in place on its spindle.
- Spindle: The bar connecting both sides of the lever handle through the door.
Follow these steps for a hassle-free modification of your Kwikset lever door handle.
Common Errors And How To Rectify Them
It’s easy to make errors during the handle reversal process. Being aware of these and knowing the remedies can prevent unnecessary hassle:
| Error | Solution |
|---|---|
| Not removing all necessary screws | Review the disassembly steps and ensure all screws are removed. |
| Overtightening screws | Tighten screws firmly but do not force to prevent stripping. |
| Forcing the lever | Gently wiggle the lever to ease it off the mounting post. |
| Reassembling in the wrong order | Follow the reinstallation steps carefully and in the right sequence. |
Following these tips can help avoid common errors and ensure a seamless reassembly of your Kwikset lever door handle in the desired orientation.
Step 1: Gather Your Tools
Before you start, make sure you have all the necessary tools at your disposal. You’ll need:
- Allen key
- Allen screws
Step 2: Removing the Door Handle
To begin, you’ll need to remove the lever door handle from the door. Here’s how:
- Locate the small pinhole on the handle’s shank.
- Insert the flat-head screwdriver into the pinhole and push it gently. This will release the handle’s shank.
- Once the shank is released, you can easily pull the lever handle away from the door.
Step 3: Reversing the Handle
With the handle removed, it’s time to reverse it:
- Take a look at the back of the handle. You’ll notice that there is a small screw located near the base.
- Use your Philips-head screwdriver to remove this screw.
- Carefully slide the handle cover off the shank, exposing the inner components.
- Rotate the inner components 180 degrees.
- Reattach the handle cover and secure it in place with the screw you removed earlier.
Step 4: Reassembling the Door Handle
Now that you’ve reversed the handle, it’s time to reassemble it:
- Align the handle’s shank with the spindle on the door latch.
- Slide the handle back onto the spindle until it clicks into place.
- Insert the flat-head screwdriver into the pinhole again to secure the shank in position.
Step 5: Testing the Reversed Handle
Before considering the job complete, it’s essential to test the reversed handle to ensure it’s functioning correctly. Try turning the handle both ways to confirm that the door latch operates smoothly.
Step 6: Tightening Screws (Optional)
If you notice any loose screws or components during the testing phase, use your screwdriver to tighten them securely.
Step 7: Maintenance Tips
To keep your Kwikset lever door handle working smoothly, consider applying a lubricant to the moving parts. This will prevent any potential friction or wear over time
Related post: Kwikset door latch won’t retract
Conclusion
Reversing the lever on a Kwikset door handle can be accomplished with ease, utilizing only a few basic tools. By following the steps outlined in our guide, you have the ability to switch the orientation quickly, ensuring your door’s functionality and aesthetic alignment.
Remember, regular maintenance of your door hardware can extend its life and performance. For more practical home improvement tips, keep browsing our blog – your go-to resource for all things DIY.