Last updated on October 13th, 2023 at 04:21 pm
If you’ve recently invested in a Teeho Lock and want to ensure it’s installed correctly, you’ve come to the right place. In this comprehensive guide, we’ll walk you through the installation process step by step. Whether you’re a seasoned DIY enthusiast or a complete novice, we’ve got you covered. Let’s dive into the nitty-gritty of setting up your Teeho Lock for added security and peace of mind.
How to install My Teeho lock
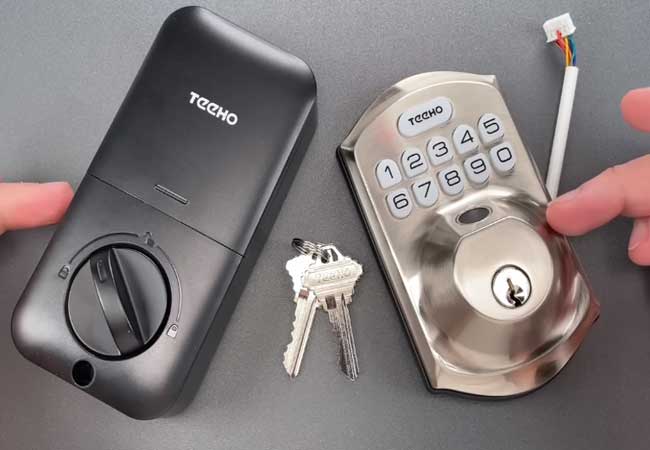
Before we embark on the installation journey, it’s essential to have a solid grasp of the Teeho Lock. This intelligent lock offers advanced security features and can be a fantastic addition to your home. Familiarize yourself with its components, including the deadbolt, front plate, skeleton, power cord, and screws.
Step 1: Start with the Deadbolt
Key Takeaway: Ensure the deadbolt is oriented correctly.
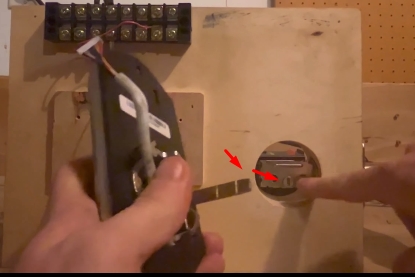
To kick things off, let’s focus on the deadbolt. Your first task is to guarantee that the key is facing upward.
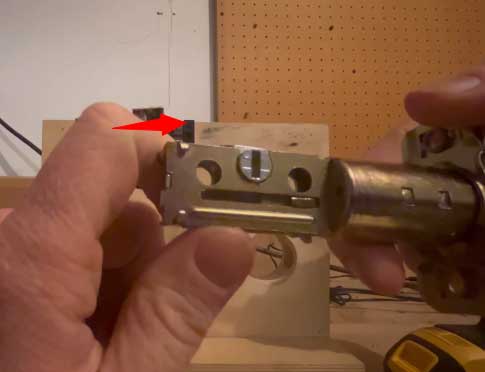
This is crucial to ensure that the lock functions correctly. An incorrect orientation can lead to issues down the line.
Step 2: Secure the Deadbolts
Key Takeaway: Use small, pointy screws to secure the deadbolts.
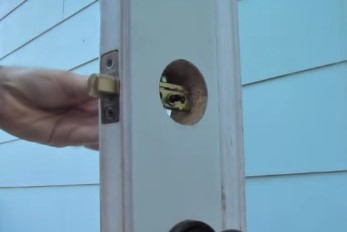
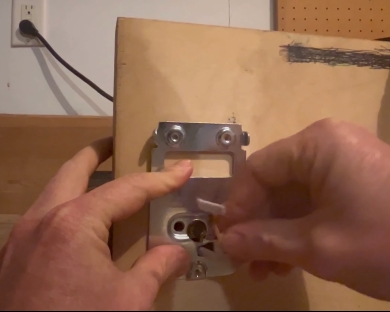
With the key in the right position, it’s time to secure the deadbolts. You’ll find two small, pointy screws—one at the top and one at the bottom.

Use these two screws to keep the deadbolts in place.
Here the first one will go to the top (see the picture) and the second will go to the bottom of the strike plate.
Make sure they are tight, but avoid over-tightening, as it can affect the lock’s functionality.
Step 3: Assemble the Skeleton
Key Takeaway: Assemble the lock’s skeleton for further installation.
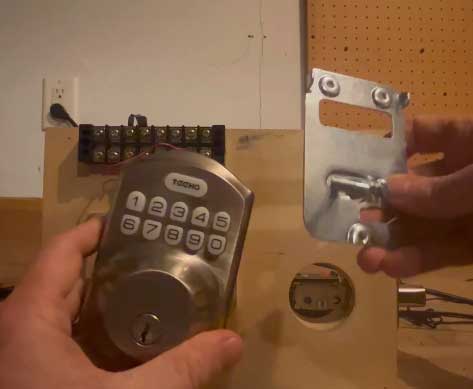
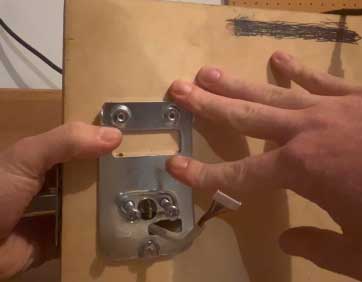
The next step involves assembling the lock’s “skeleton.” This component plays a crucial role in the lock’s operation. Ensure that the cord hangs down at the bottom and thread a metal piece through the middle hole.
Step 4: Thread the Skeleton
Key Takeaway: Carefully thread the metal piece through the skeleton.
Threading the metal piece through the skeleton is a vital step.
- Carefully insert the metal piece into the middle hole of the skeleton
Ensure Proper Alignment: While threading, pay close attention to ensure that the threads on the metal piece align with the corresponding threads within the skeleton. You want to make sure they catch securely.
Gently twist and turn the metal piece, making sure it continues to thread its way through the skeleton
Step 5: Attach the Front Plate
Key Takeaway: Thread the metal piece through the middle hole in the front plate.
Now, it’s time to attach the front plate. Thread the metal piece, which you’ve already connected to the skeleton, through the middle hole in the front plate. Slide the power cord beneath it and hold the front plate in place.
Step 6: Check for a Proper Fit
Key Takeaway: Ensure the components fit together snugly.
Before moving on, double-check that all components fit together properly. This is a critical step to guarantee the lock’s effectiveness. Make any necessary adjustments to ensure everything lines up correctly.
Step 7: Install the Back Plate
Key Takeaway: Insert the power cord and secure the back plate.
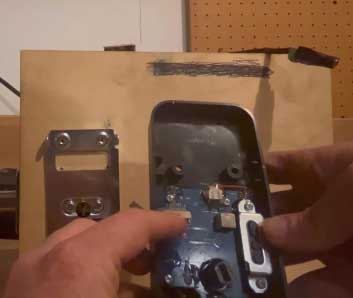
Flip the lock over to access the back plate. Find the section where the power cord fits and insert it correctly.

Be mindful of the cord’s orientation, as inserting it incorrectly can lead to complications. Align the back plate and give it a gentle push to secure it in place.
Step 8: Tighten the Black Screws
Key Takeaway: Use small black screws to secure the back plate.
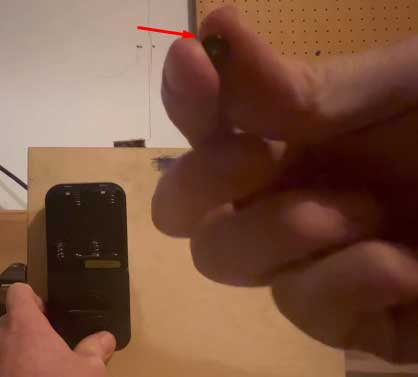
You’ll need small black screws to secure the back plate in place. These screws are quite tiny, so a Phillips head screwdriver will be your best friend here. Tighten the two screws before moving on to installing the batteries.
Step 9: Insert the Batteries
Key Takeaway: Insert the batteries to power up your Teeho Lock.
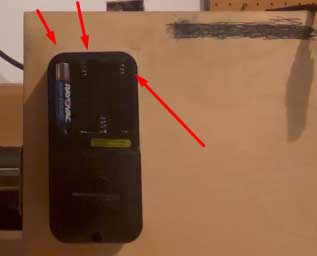
The final step before your Teeho Lock becomes operational is to insert the batteries. Ensure they are positioned correctly, following the manufacturer’s guidelines. Once the batteries are in place, you should see the lock light up, indicating that it’s ready to use.
Step 10: Explore Advanced Features
Key Takeaway: Don’t forget to explore advanced lock settings and configurations.
With your Teeho Lock successfully installed, take some time to explore its advanced features. You can set up access codes, master codes, and additional security settings. Check out our other articles and videos for in-depth guidance on these features.
Conclusion
Congratulations! You’ve now completed the installation of your Teeho Lock. This high-tech security solution is ready to protect your home and loved ones. We hope this step-by-step guide